5 Key Points for Identifying Sports Injuries in Children and the RICE Home Treatment Method
Introduction 🏥

Sports and physical activities are essential for children's growth and development, fostering teamwork, discipline, and physical fitness. However, with increased participation comes a higher risk of sports-related injuries. According to studies, millions of children suffer from sports injuries annually, ranging from minor sprains to more serious fractures. Early identification and proper initial treatment are crucial to prevent complications, reduce recovery time, and ensure a safe return to play. This article delves into five key points for recognizing sports injuries in children and details the RICE (Rest, Ice, Compression, Elevation) home treatment method, a widely recommended first-aid approach. By understanding these elements, parents, coaches, and caregivers can respond effectively, promoting children's health and well-being in athletic settings.
Key Point 1: Observe for Pain and Discomfort 😣
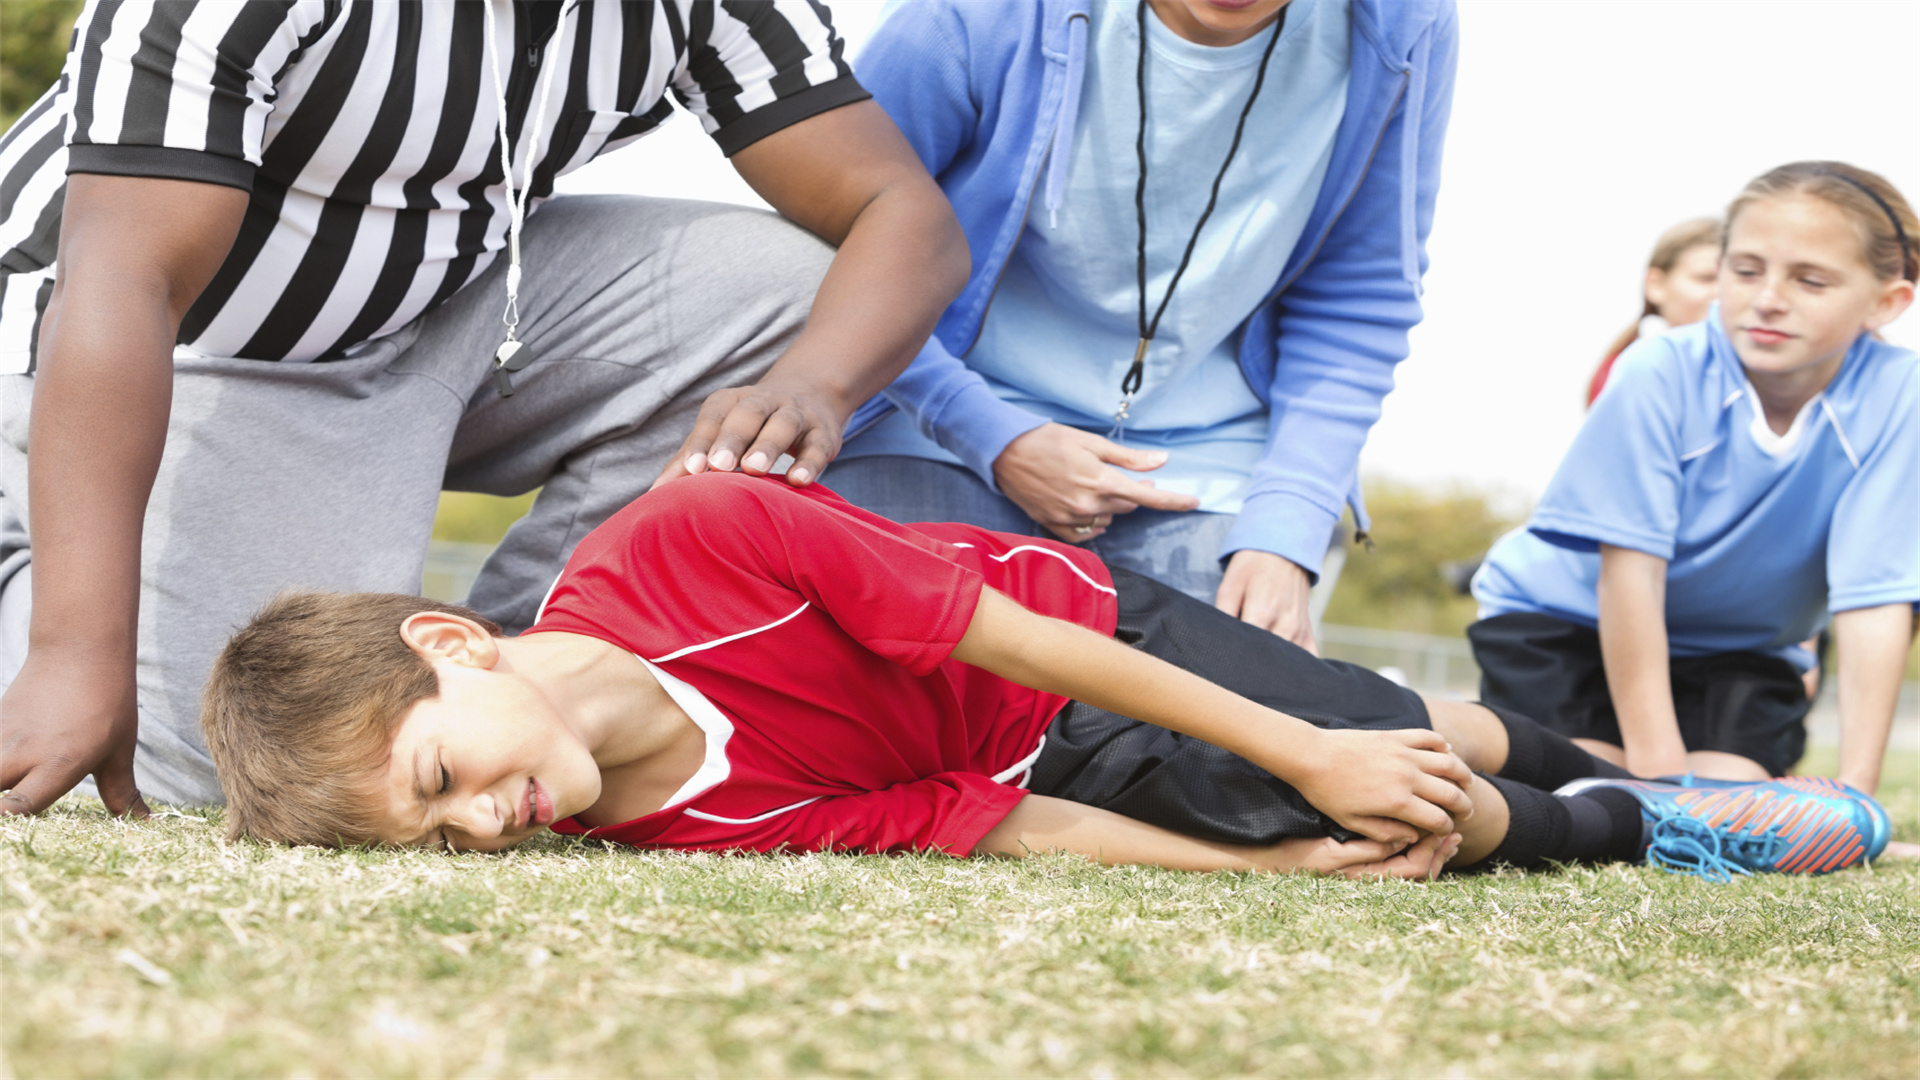
Pain is often the first indicator of a sports injury in children. However, children may not always verbalize their discomfort clearly, especially if they fear being sidelined or disappointing others. Therefore, keen observation is vital. Look for signs such as limping, favoring one limb, or reluctance to use a specific body part during activities. Facial expressions like wincing, grimacing, or crying can also signal pain. Additionally, children might exhibit behavioral changes, such as avoiding movements that exacerbate the injury. For instance, a child with a shoulder strain might hesitate to lift their arm. It's important to ask open-ended questions like, "Where does it hurt?" or "Can you show me what movements are difficult?" to encourage communication. Ignoring pain can lead to worsened injuries, so always take complaints seriously and assess the situation promptly.
1. Direct Communication
Engage the child in a calm conversation to describe their pain. Use age-appropriate language and encourage them to point to the painful area. This helps in localizing the injury and understanding its severity.
2. Non-Verbal Cues
Watch for body language, such as guarding the injured area, reduced activity levels, or unusual posture. These cues can reveal discomfort even when the child is silent, as young athletes might downplay pain to continue playing.
3. Pain Assessment Tools
For older children, consider using pain scales (e.g., a scale from 1 to 10) to gauge intensity. For younger ones, observe during play—if they stop participating suddenly or show distress, it may indicate acute pain.
Key Point 2: Look for Swelling and Bruising 💜
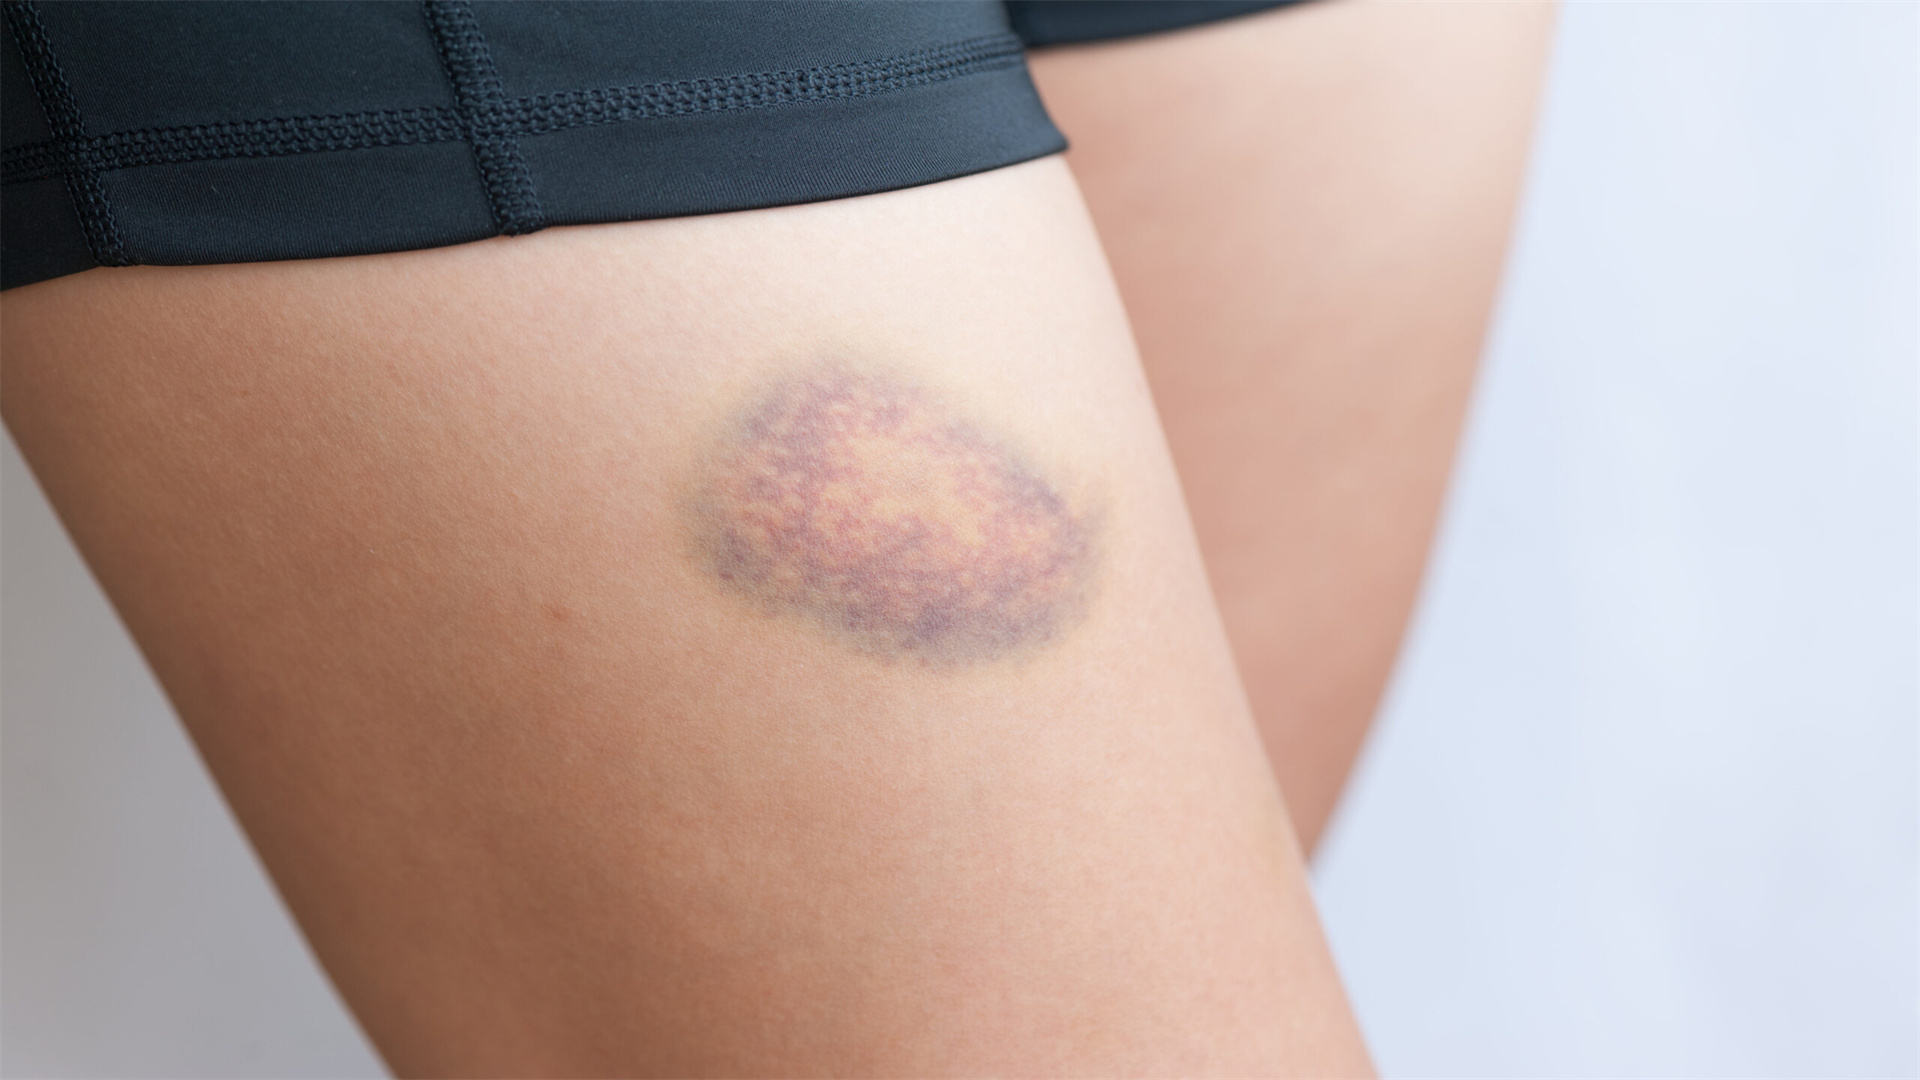
Swelling and bruising are common physical signs of sports injuries, resulting from internal bleeding or inflammation in tissues like muscles, ligaments, or bones. Swelling often appears quickly after an injury, such as in ankle sprains or knee twists, and may be accompanied by redness or warmth. Bruising, or ecchymosis, can develop immediately or over a few days, indicating damage to blood vessels. In children, these signs might be more pronounced due to their active metabolism. Check for asymmetry between limbs; for example, compare the injured ankle to the uninjured one. Gentle palpation can help identify tender areas, but avoid pressing too hard to prevent further harm. Swelling can limit mobility and increase pain, so early detection allows for timely intervention with methods like icing to reduce inflammation.
1. Immediate Swelling
Assess the injured area within minutes to hours after the incident. Rapid swelling often suggests significant soft tissue damage, such as in ligament tears or contusions. Elevate the limb and apply ice to mitigate this response.
2. Delayed Bruising
Monitor the injury site over 24-48 hours for bruising that may spread. This can indicate the extent of trauma; for instance, a deep thigh bruise might signal a muscle strain. Document color changes, as fading bruises typically mean healing.
3. Visual Inspection
In good lighting, examine for discoloration, puffiness, or deformity. Use comparisons with the opposite body part to spot abnormalities. In cases like wrist fractures, swelling might be subtle, so look for slight asymmetries.
Key Point 3: Check for Limited Mobility or Range of Motion 🚶

Injuries often restrict a child's ability to move normally, affecting their range of motion (ROM). This can manifest as stiffness, weakness, or inability to perform familiar actions, such as running, jumping, or bending. For example, a child with a hamstring strain might struggle to straighten their leg, while one with a shoulder injury may have difficulty raising their arm. Observe during activities: does the child hesitate, move awkwardly, or avoid certain motions? You can gently test ROM by asking them to perform simple movements, like rotating an ankle or flexing a knee, but stop if pain occurs. Comparing bilateral movements (both sides) helps identify limitations. Limited mobility not only hampers performance but can also lead to compensatory injuries if ignored, making early detection critical for rehabilitation.
1. Active Movement Tests
Have the child try to move the injured area on their own, such as walking or stretching. Note any reluctance, asymmetry, or reduced effort, which could point to joint or muscle issues.
2. Passive Movement Assessment
With care, assist in moving the limb through its normal range, but only if the child consents and shows no severe pain. This can reveal restrictions due to swelling or structural damage.
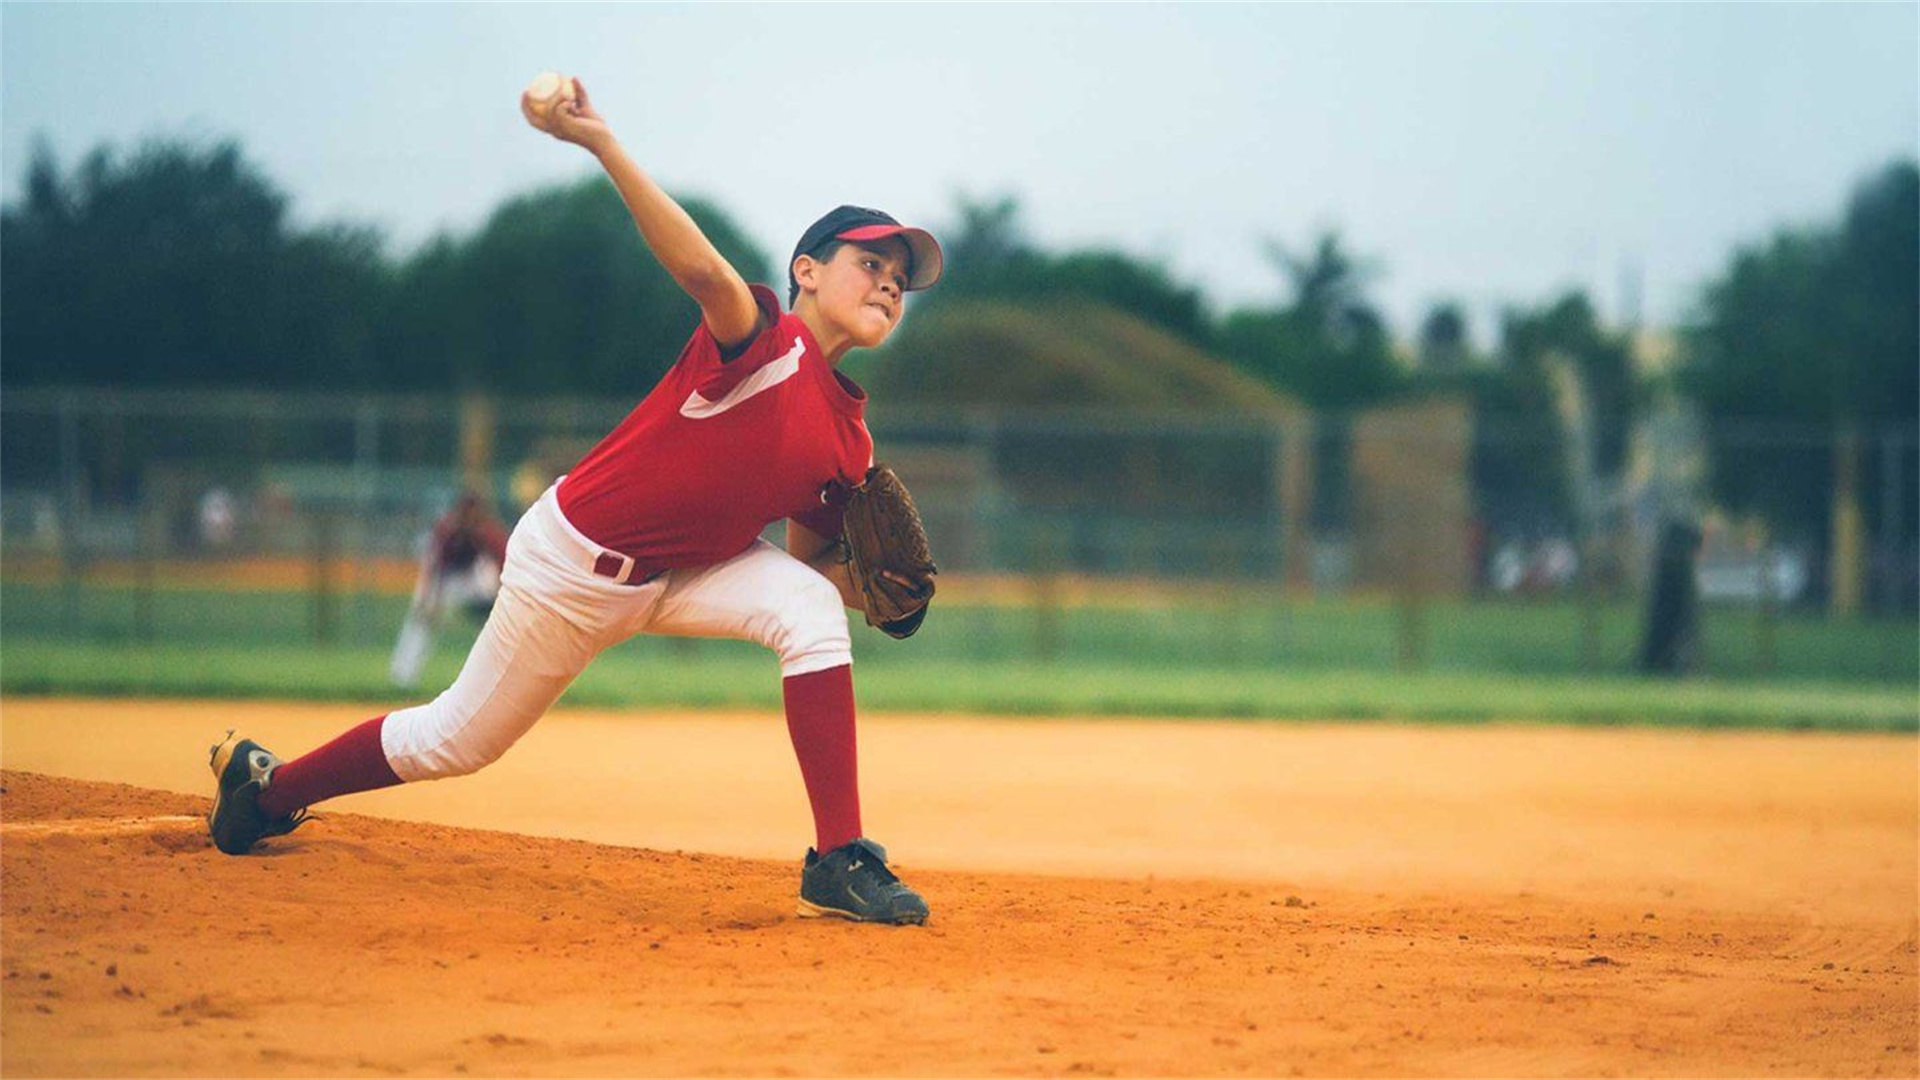
3. Functional Limitations
Observe during sports-specific actions, like kicking a ball or throwing. Difficulty in these tasks may indicate injuries in areas like the knees or elbows, requiring further evaluation.
Key Point 4: Notice Changes in Behavior or Performance 🧒
Children's behavior and athletic performance can provide subtle clues about underlying injuries. A sudden drop in performance, such as slower running times or decreased accuracy in skills, may signal pain or fatigue from an injury. Behaviorally, children might become irritable, withdrawn, or anxious about participating in sports they previously enjoyed. They may make excuses to skip practice or games, or exhibit fear of certain movements. For instance, a soccer player with a foot injury might avoid dribbling or shooting. These changes can stem from both physical discomfort and psychological factors, like fear of reinjury. Coaches and parents should maintain open communication, noting if a child seems less enthusiastic or struggles with tasks they once mastered. Addressing these signs early can prevent chronic issues and support mental well-being.
1. Performance Decline
Track consistency in sports activities; a noticeable decline, such as frequent errors or lack of energy, might indicate overuse injuries like stress fractures or tendonitis.
2. Emotional Responses
Watch for mood swings, crying, or frustration during play. These emotions can be reactions to pain or inability to perform, highlighting the need for a break or medical check-up.
3. Social Withdrawal
If a child avoids team interactions or loses interest in sports, it could be due to injury-related embarrassment or discomfort. Encourage dialogue to understand their feelings and assess physical health.
Key Point 5: Listen to the Child's Complaints 👂

Active listening is paramount when children report symptoms, as they may describe pain in unique or vague ways. Complaints like "my leg feels funny," "it aches when I run," or "I heard a pop" should be taken seriously, even if no visible signs are present. Children might minimize issues to avoid missing out, so probe gently for details: ask about the timing, location, and triggers of pain. Validate their feelings to build trust, ensuring they feel comfortable sharing. Common complaints include throbbing, sharp pains, or numbness, which can indicate various injuries, from sprains to growth plate fractures. Remember, children's bodies are still developing, making them susceptible to specific injuries like Osgood-Schlatter disease (knee pain). By listening attentively, caregivers can identify problems early and seek appropriate care, preventing long-term damage.
1. Encourage Detailed Descriptions
Ask the child to elaborate on their complaints using simple terms. For example, "Does it hurt more when you move or rest?" This helps differentiate between acute and chronic injuries.
2. Validate and Respond
Acknowledge their concerns without dismissal, as this fosters open communication. Respond with reassurance and action, such as checking the area or suggesting rest, to show you take their complaints seriously.
3. Monitor Recurring Issues
If a child repeatedly mentions pain in the same area, it may indicate an overuse injury or underlying condition. Document these complaints and consider consulting a healthcare professional for evaluation.
The RICE Home Treatment Method: A Step-by-Step Guide❄️

The RICE method is a cornerstone of first aid for acute sports injuries, widely recommended by medical organizations like the American Academy of Orthopaedic Surgeons. It aims to reduce pain, swelling, and inflammation in the initial 24-48 hours after injury, promoting faster healing. RICE stands for Rest, Ice, Compression, and Elevation, and when applied correctly, it can manage minor injuries like sprains, strains, and bruises in children. However, it's crucial to note that RICE is not a substitute for professional medical care, especially for severe injuries such as fractures or dislocations. Below, we break down each component with practical tips for implementing RICE at home, tailored to children's needs for comfort and safety.
1. Rest: Avoid Further Injury
Rest is essential to prevent aggravating the injury. Encourage the child to stop the activity immediately and avoid putting weight on the affected area. For lower limb injuries, use crutches if necessary; for upper body issues, a sling might help. Rest doesn't mean complete immobility—gentle movements within pain-free ranges can prevent stiffness, but avoid strenuous activities until healing progresses. Explain to the child why rest is important, using analogies like "letting your body fix itself." Typically, rest should continue for at least 24-48 hours, depending on severity, before gradually reintroducing movement under guidance.
2. Ice: Reduce Swelling and Pain
Applying ice constricts blood vessels, reducing blood flow to the injured area and minimizing swelling and pain. Use a cold pack, ice wrapped in a towel, or a bag of frozen peas—never apply ice directly to the skin to avoid frostbite. For children, limit icing sessions to 15-20 minutes at a time, with breaks of at least 20 minutes between applications. Repeat every 2-3 hours during the first day or two. Monitor the skin for excessive redness or discomfort. Ice is most effective when started soon after injury; combine it with elevation for optimal results. Explain the process as "cooling down the hurt spot" to make it less intimidating for young ones.
3. Compression: Control Swelling
Compression involves wrapping the injured area with an elastic bandage (e.g., Ace bandage) to apply gentle pressure, which helps limit swelling and provides support. Start wrapping from the point farthest from the heart, moving inward, but avoid wrapping too tightly—check for signs like numbness, tingling, or increased pain, which indicate the bandage is too constrictive. For children, use age-appropriate sizes and ensure they can move slightly without restriction. Compression can be maintained during waking hours, but loosen it if the child sleeps to prevent circulation issues. Teach the child to report any discomfort, and combine compression with ice for enhanced effects.
4. Elevation: Minimize Swelling
Elevating the injured limb above heart level uses gravity to reduce fluid accumulation and swelling. For example, prop a sprained ankle on pillows while sitting or lying down. Encourage the child to keep the area elevated as much as possible, especially during the first 48 hours. This can be challenging for active children, so incorporate it into rest periods with distractions like reading or watching videos. Elevation works best when combined with ice and compression, forming a comprehensive approach to inflammation control. Ensure the child is comfortable to promote adherence, and explain that "keeping it up helps the swelling go down."
Conclusion 📝

Identifying sports injuries in children requires vigilance across multiple fronts: observing pain and discomfort, checking for swelling and bruising, assessing limited mobility, noting behavioral changes, and actively listening to complaints. These five key points empower parents, coaches, and caregivers to detect issues early, preventing minor injuries from escalating into serious problems. Coupled with the RICE home treatment method—Rest, Ice, Compression, and Elevation—they form a robust initial response plan for acute injuries. However, it's vital to remember that RICE is a first-aid measure; persistent symptoms, severe pain, or suspected fractures warrant prompt medical attention. By fostering a safe sports environment and prioritizing children's health, we can ensure they enjoy the benefits of physical activity while minimizing risks. Stay informed, proactive, and compassionate to support young athletes in their journey.
You May Have Missed

Psychiatrist Shares the "5-4-3-2-1" Grounding Technique for Relieving Anxiety
In our fast-paced, modern world, anxiety has become a near-ubiquitous experience. While a certain level of anxiety is a normal and even helpful human response, chronic or overwhelming anxiety can feel paralyzing, trapping individuals in a cycle of worry about the future or distress over past events. When anxiety strikes, the mind and body can feel disconnected from the present moment, lost in a storm of "what-ifs" and catastrophic thinking.

Should You Apply Heat or Cold Compress First After a Sprain?
Suffering a sprain—whether from a misstep on a hike, a twist on the basketball court, or an awkward landing—is a common and painful experience. In those first critical moments of injury, the decisions you make can significantly impact your recovery speed and comfort. One of the most universal pieces of advice is to use temperature therapy, but it often leads to confusion: Should you reach for the ice pack or the heating pad first? Using the wrong one at the wrong time can inadvertently increase swelling, pain, and prolong healing. This article cuts through the confusion by exploring the distinct physiological effects of heat and cold, providing a clear, step-by-step protocol based on established medical guidelines, and debunking common myths. Understanding the "why" behind the "what to do" empowers you to manage your injury effectively from the first sign of a sprain through to full recovery.

Dentist Demonstrates the Bass Brushing Technique and 6 Essential Cleaning Tools
For many, the daily ritual of brushing teeth is a quick, automatic task—a few hurried swipes before rushing out the door. However, this common approach often misses the mark, leaving plaque to accumulate dangerously along the gum line and between teeth, the very areas most susceptible to decay and gum disease. Professional dental cleanings are crucial, but the foundation of lifelong oral health is built at home, through consistent and correct technique. This article, guided by dental expertise, delves deep into the cornerstone of effective home care: the modified Bass brushing technique. We will break down this dentist-recommended method step-by-step and pair it with a detailed exploration of six essential cleaning tools. Moving beyond generic advice, this guide provides a specific, actionable blueprint to transform your oral hygiene routine from a mundane task into a powerful, preventative health practice.
We focus on sharing high-quality original content covering diverse fields such as technology & digital, life essays, and practical useful tips. We polish every article with care to bring you a warm and in-depth reading experience. Explore more interesting new knowledge only at FunLab666.