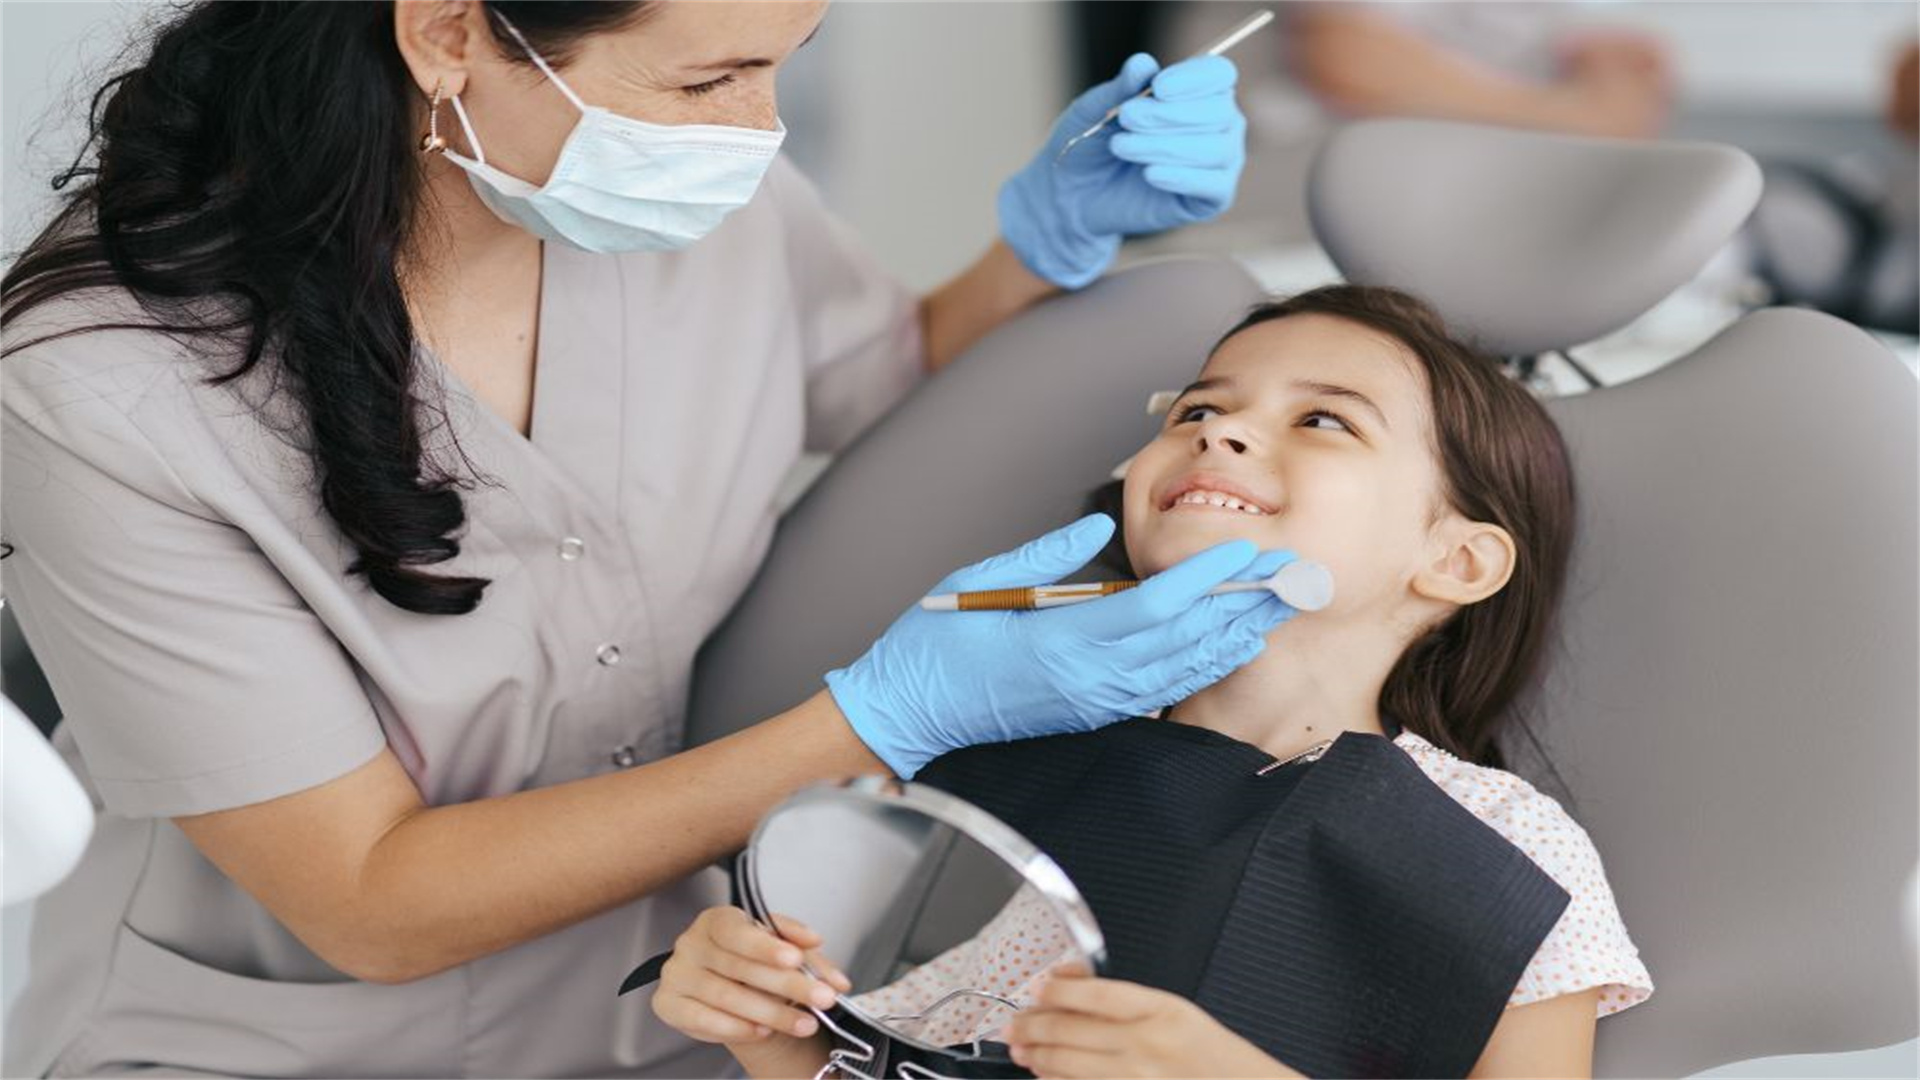
Dentist Demonstrates the Bass Brushing Technique and 6 Essential Cleaning Tools

For many, the daily ritual of brushing teeth is a quick, automatic task—a few hurried swipes before rushing out the door. However, this common approach often misses the mark, leaving plaque to accumulate dangerously along the gum line and between teeth, the very areas most susceptible to decay and gum disease. Professional dental cleanings are crucial, but the foundation of lifelong oral health is built at home, through consistent and correct technique. This article, guided by dental expertise, delves deep into the cornerstone of effective home care: the modified Bass brushing technique. We will break down this dentist-recommended method step-by-step and pair it with a detailed exploration of six essential cleaning tools. Moving beyond generic advice, this guide provides a specific, actionable blueprint to transform your oral hygiene routine from a mundane task into a powerful, preventative health practice.
1. 🦷The Foundation: Understanding the "Why" Behind Proper Cleaning
Before mastering the "how," it's vital to understand the "why." The primary goal of brushing is not just to freshen breath or clean visible tooth surfaces, but to systematically and gently disrupt and remove dental plaque. Plaque is a sticky, colorless biofilm of bacteria that constantly forms on teeth. If not removed within 24-48 hours, it begins to harden into tartar (calculus), which cannot be removed by brushing alone and requires professional scaling. Plaque bacteria are the direct cause of two major oral diseases: cavities (by producing acids that erode enamel) and gingivitis/periodontitis (by triggering inflammation that destroys gum tissue and bone). Effective cleaning, therefore, targets plaque at its source, particularly in the sulcus—the shallow groove where the tooth meets the gum. This is precisely where the Bass technique excels.
1.1 The Limitations of Common Brushing Methods
Many people use a horizontal "scrubbing" motion, which can be abrasive to enamel and gum tissue, and often fails to clean below the gumline. Others might use a vigorous vertical or circular motion. While better than scrubbing, these methods can still push plaque away from the gums rather than sweeping it out from the sulcus. The Bass technique is specifically designed to address this shortcoming by focusing on angle and motion to clean the most critical, disease-prone areas.
1.2 The Role of Tools and Technique
Even the best tool is ineffective with poor technique, and the perfect technique is hampered by inadequate tools. They are synergistic. A soft-bristled brush is non-negotiable for the Bass method, as stiff bristles can cause gum recession and enamel wear when angled into the sulcus. This section sets the stage for understanding that the following technique and tool recommendations are part of an integrated system for optimal plaque control.
2. 📐 Step-by-Step: Mastering the Modified Bass Brushing Technique
Developed by Dr. Charles C. Bass, this technique is endorsed by dental professionals worldwide for its efficacy in cleaning the gingival sulcus. The "modified" version incorporates a gentle sweeping motion to clear dislodged plaque. Here is a detailed, step-by-step demonstration.
2.1 🎯 Step 1: The Correct Grip and Brush Selection
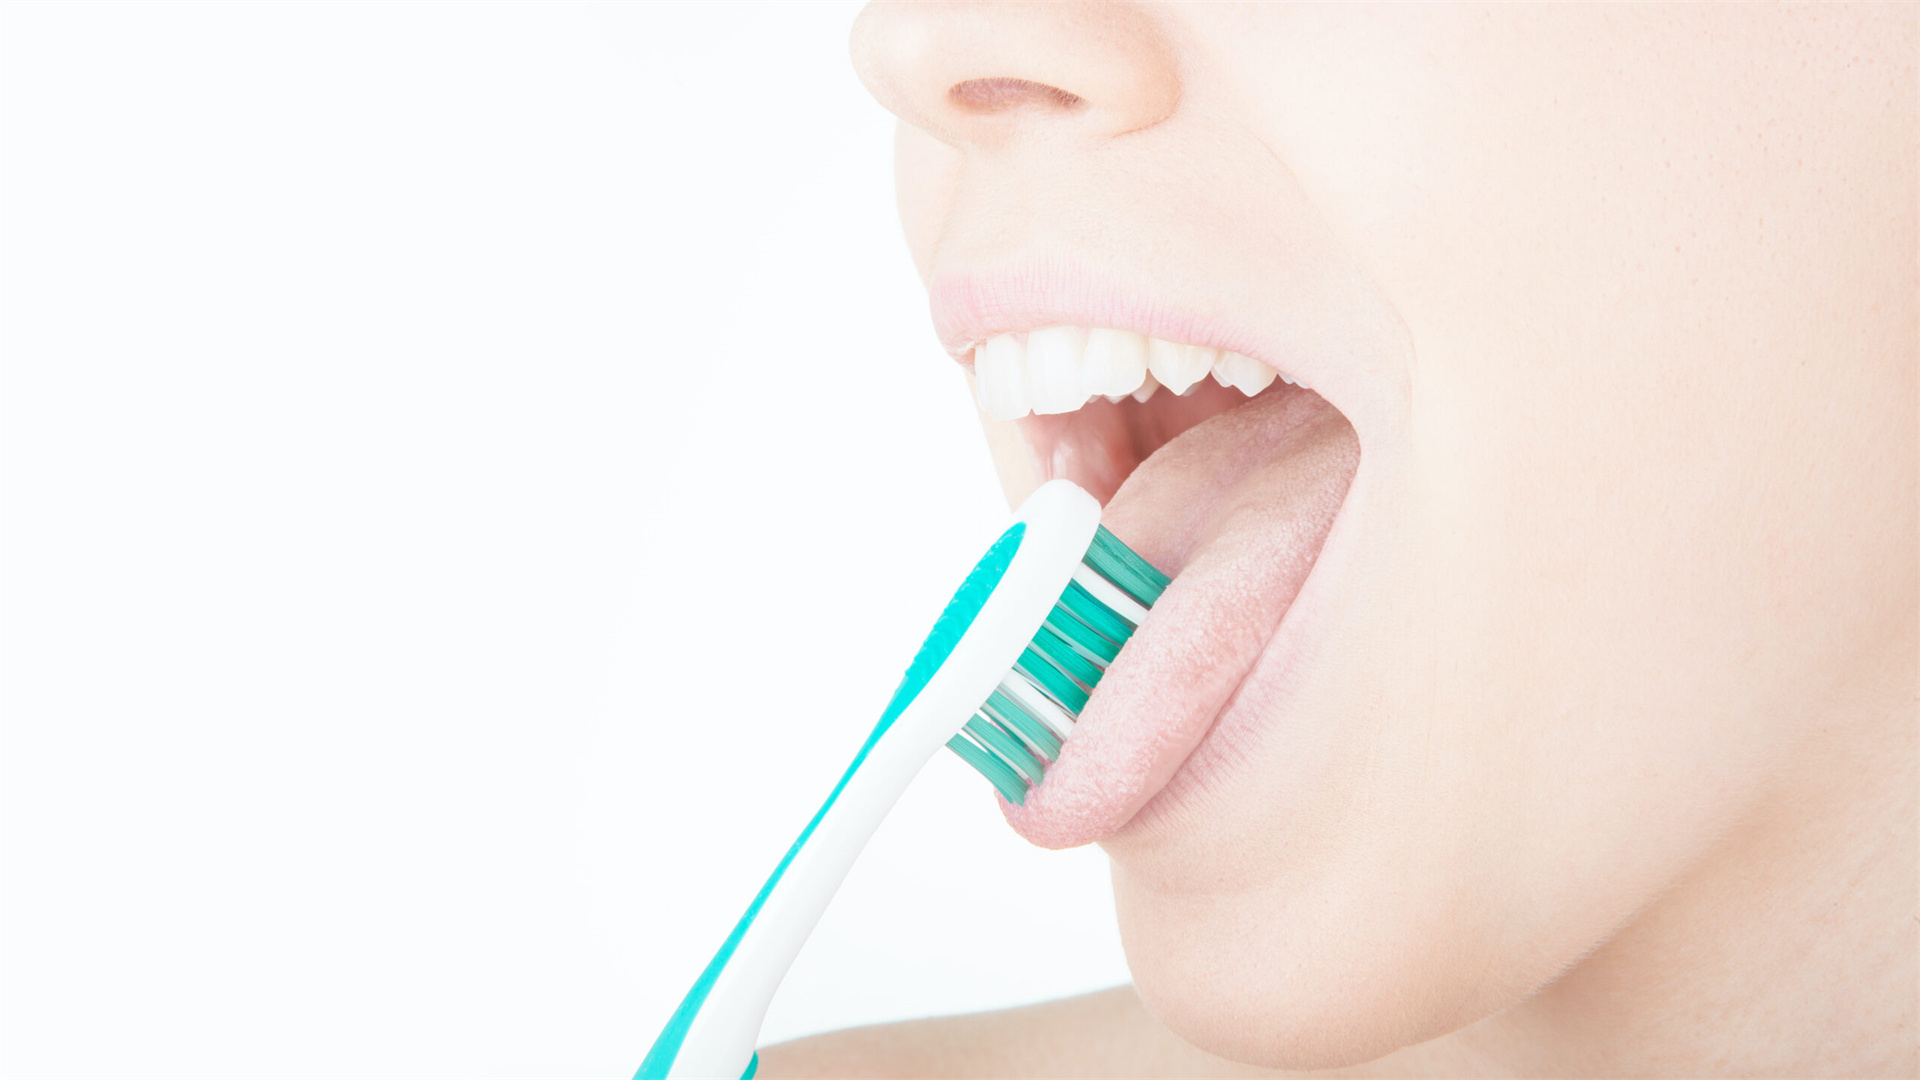
Use a soft-bristled, small-headed manual or electric toothbrush. A small head allows better access to the back teeth and precise positioning. Hold the brush with a pencil grip (not a fist) to ensure gentle control and prevent excessive pressure. Excessive force is counterproductive and damaging.
2.2 📐 Step 2: The 45-Degree Angle
This is the hallmark of the Bass technique. Place the brush head at a 45-degree angle to the tooth surface, aiming the bristles directly into the gumline. The tips of the bristles should gently penetrate the sulcus (the space between tooth and gum). Visualize pointing the bristles toward the roots of the teeth where they emerge from the gums.
2.3 🔄 Step 3: Gentle Vibratory Motion
With the bristles angled correctly, apply very gentle pressure and initiate short, back-and-forth horizontal vibrations or tiny circular motions. The brush head should move just about 1-2 millimeters. The goal is not to scrub the tooth surface, but to agitate and dislodge plaque from within the sulcus and just below the gum margin. Count to 5-10 seconds for each position.
2.4⬇️Step 4: The Sweeping Stroke
After vibrating, complete the stroke by sweeping or rolling the brush head downward (for upper teeth) or upward (for lower teeth) away from the gumline. This "sweep" removes the loosened plaque from the sulcus and over the tooth surface. On chewing surfaces, use a straightforward scrubbing or circular motion to clean the pits and grooves.
2.5 🗺️ Step 5: Systematic Approach & Duration
Follow a consistent pattern to ensure no area is missed. Divide your mouth into four quadrants: upper right, upper left, lower right, lower left. Clean the outer surfaces, then the inner surfaces, and finally the chewing surfaces of all teeth in one quadrant before moving to the next. Spend at least 30 seconds per quadrant, totaling a full two minutes of brushing. Don't forget the inner surfaces of front teeth by tilting the brush vertically and using the tip or front bristles with the same angled, vibrating, and sweeping motions.
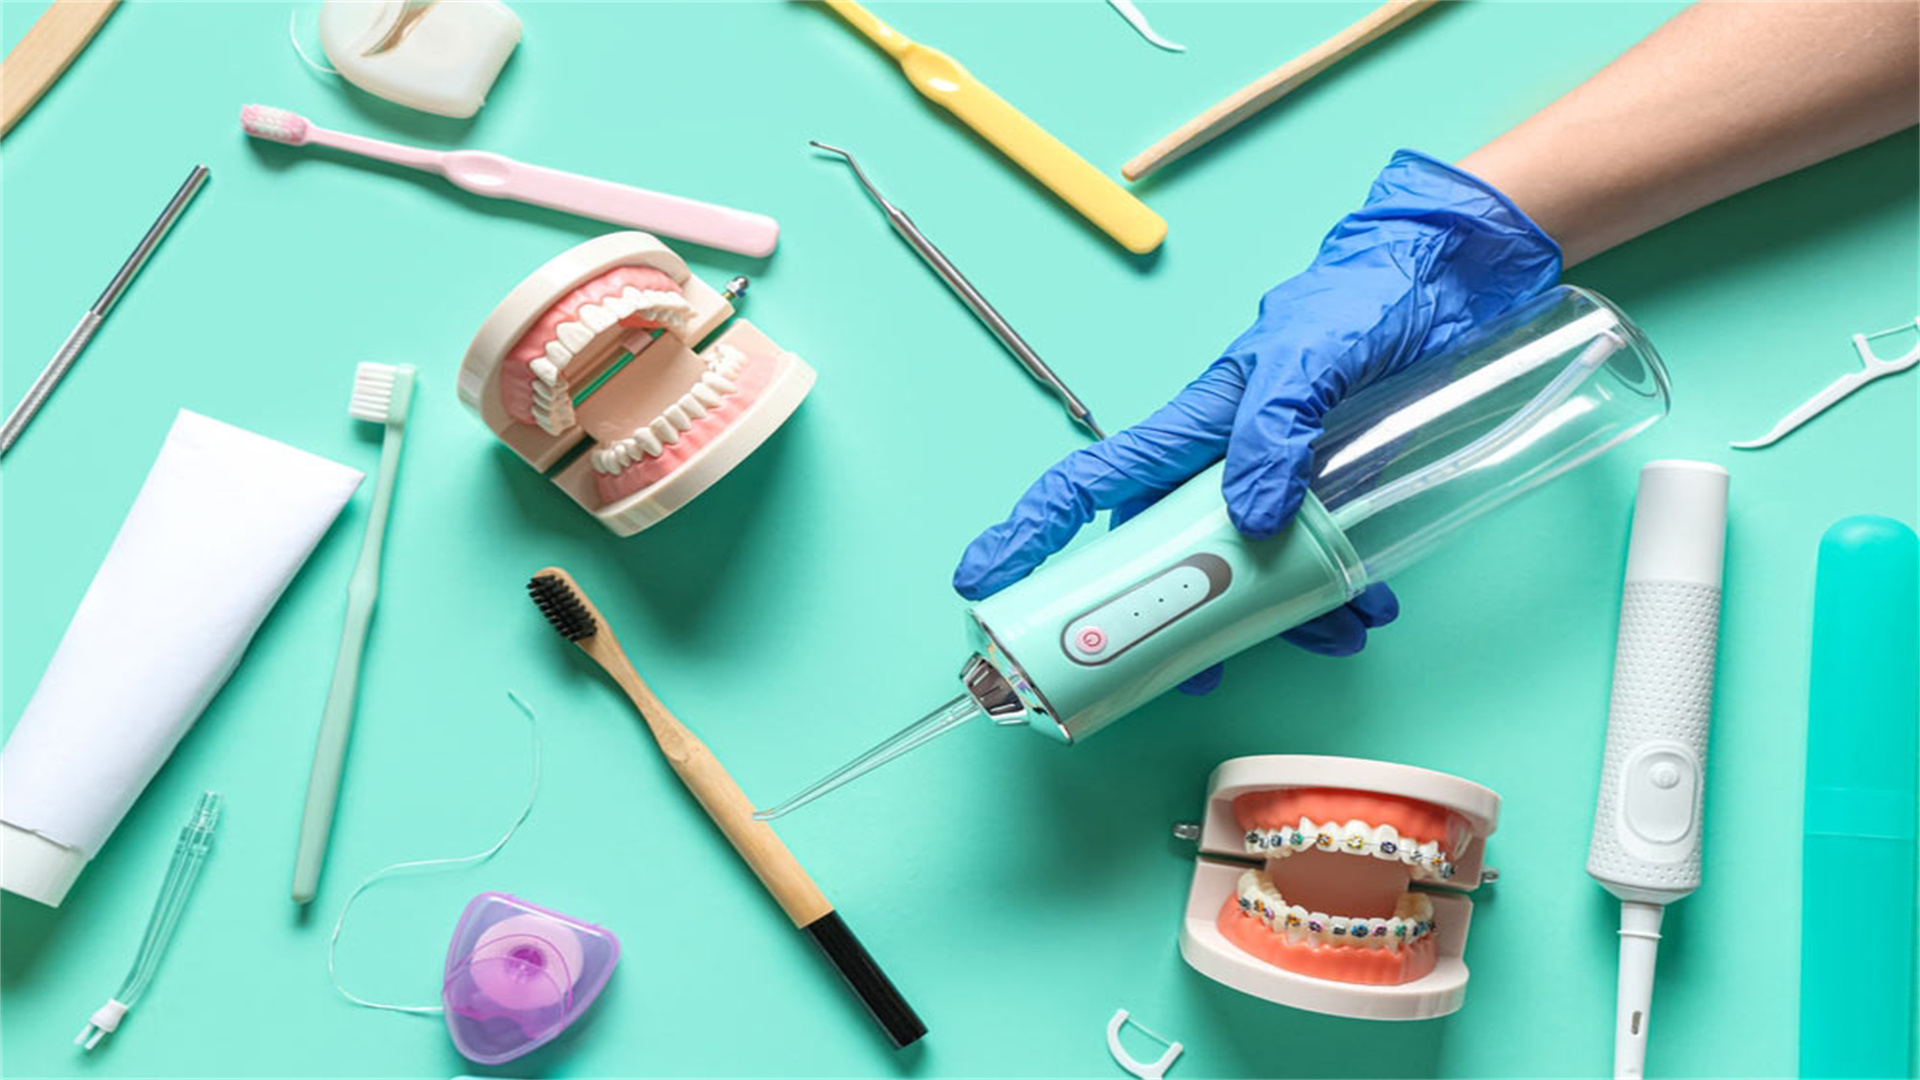
3. 🧰 The Essential Arsenal: 6 Cleaning Tools You Absolutely Need
While the toothbrush is the primary soldier, it cannot win the war against plaque alone. A complete oral hygiene regimen requires a supporting cast of specialized tools, each designed to address areas your brush cannot reach.
3.1 ⬇️1. Interdental Brushes (Picks) - The Bridge Builder
What it is: Small, conical or cylindrical brushes on a wire handle, available in various sizes.
Why it's essential: The vast majority of cavities begin between teeth. Toothbrush bristles cannot effectively clean these broad contact points. Interdental brushes physically remove plaque and food debris from these spaces, which are also common starting points for gum inflammation.
How to use it correctly: Select a size that fits snugly but passes through the gap without forcing. Gently insert the brush horizontally between your teeth. Move it back and forth 2-3 times. Do not force it or use a "see-saw" vertical motion. Use a clean section of the brush for each space. Ideal for use before bedtime.
3.2 🧵 2. Dental Floss - The Classic Precision Instrument
What it is: A thin filament of nylon or PTFE (Teflon), waxed or unwaxed, available in tape or string form.
Why it's essential: It remains the gold standard for cleaning tight tooth contacts where even an interdental brush cannot fit. It scrapes plaque from the proximal tooth surfaces and helps clean slightly below the gumline in these tight spaces.
How to use it correctly: Take about 18 inches of floss. Wind most around one middle finger, the rest around the other, leaving 1-2 inches to work with. Use your thumbs and index fingers to guide it. Gently slide it between teeth using a zig-zag motion—never snap it. Curve the floss into a "C" shape against one tooth and slide it up and down, including under the gumline. Then, curve it around the adjacent tooth and repeat. Use a fresh section of floss for each tooth.
3.3 💦 3. Water Flosser (Oral Irrigator) - The Hydraulic Power Washer
What it is: An electronic device that pumps a pulsating stream of water or mouthwash through a handheld tip.
Why it's essential: Excellent for flushing out debris from braces, bridges, implants, and deep periodontal pockets. It is highly effective for reducing gingivitis and is often recommended for those who find traditional floss difficult to use. It is a supplement to, not a replacement for, mechanical cleaning with floss or interdental brushes.
How to use it correctly: Fill the reservoir with lukewarm water. Start on the lowest pressure setting. Lean over the sink and place the tip in your mouth before turning the unit on. Aim the tip at a 90-degree angle to the gumline, tracing along the teeth and pausing briefly between teeth. Let the water drain from your mouth freely.
3.4 👅 4. Tongue Scraper - The Breath Refresher
What it is: A U-shaped tool, typically made of metal or plastic, designed to glide over the tongue's surface.
Why it's essential: The tongue's rough surface harbors a significant amount of bacteria and food debris, which are primary contributors to bad breath (halitosis) and can redistribute onto clean teeth.
How to use it correctly: Extend your tongue. Place the scraper at the back of the tongue and gently pull it forward toward the tip. Rinse the scraper after each pass. Repeat 2-3 times. Do not scrape so hard that it causes irritation. Use daily, preferably in the morning.
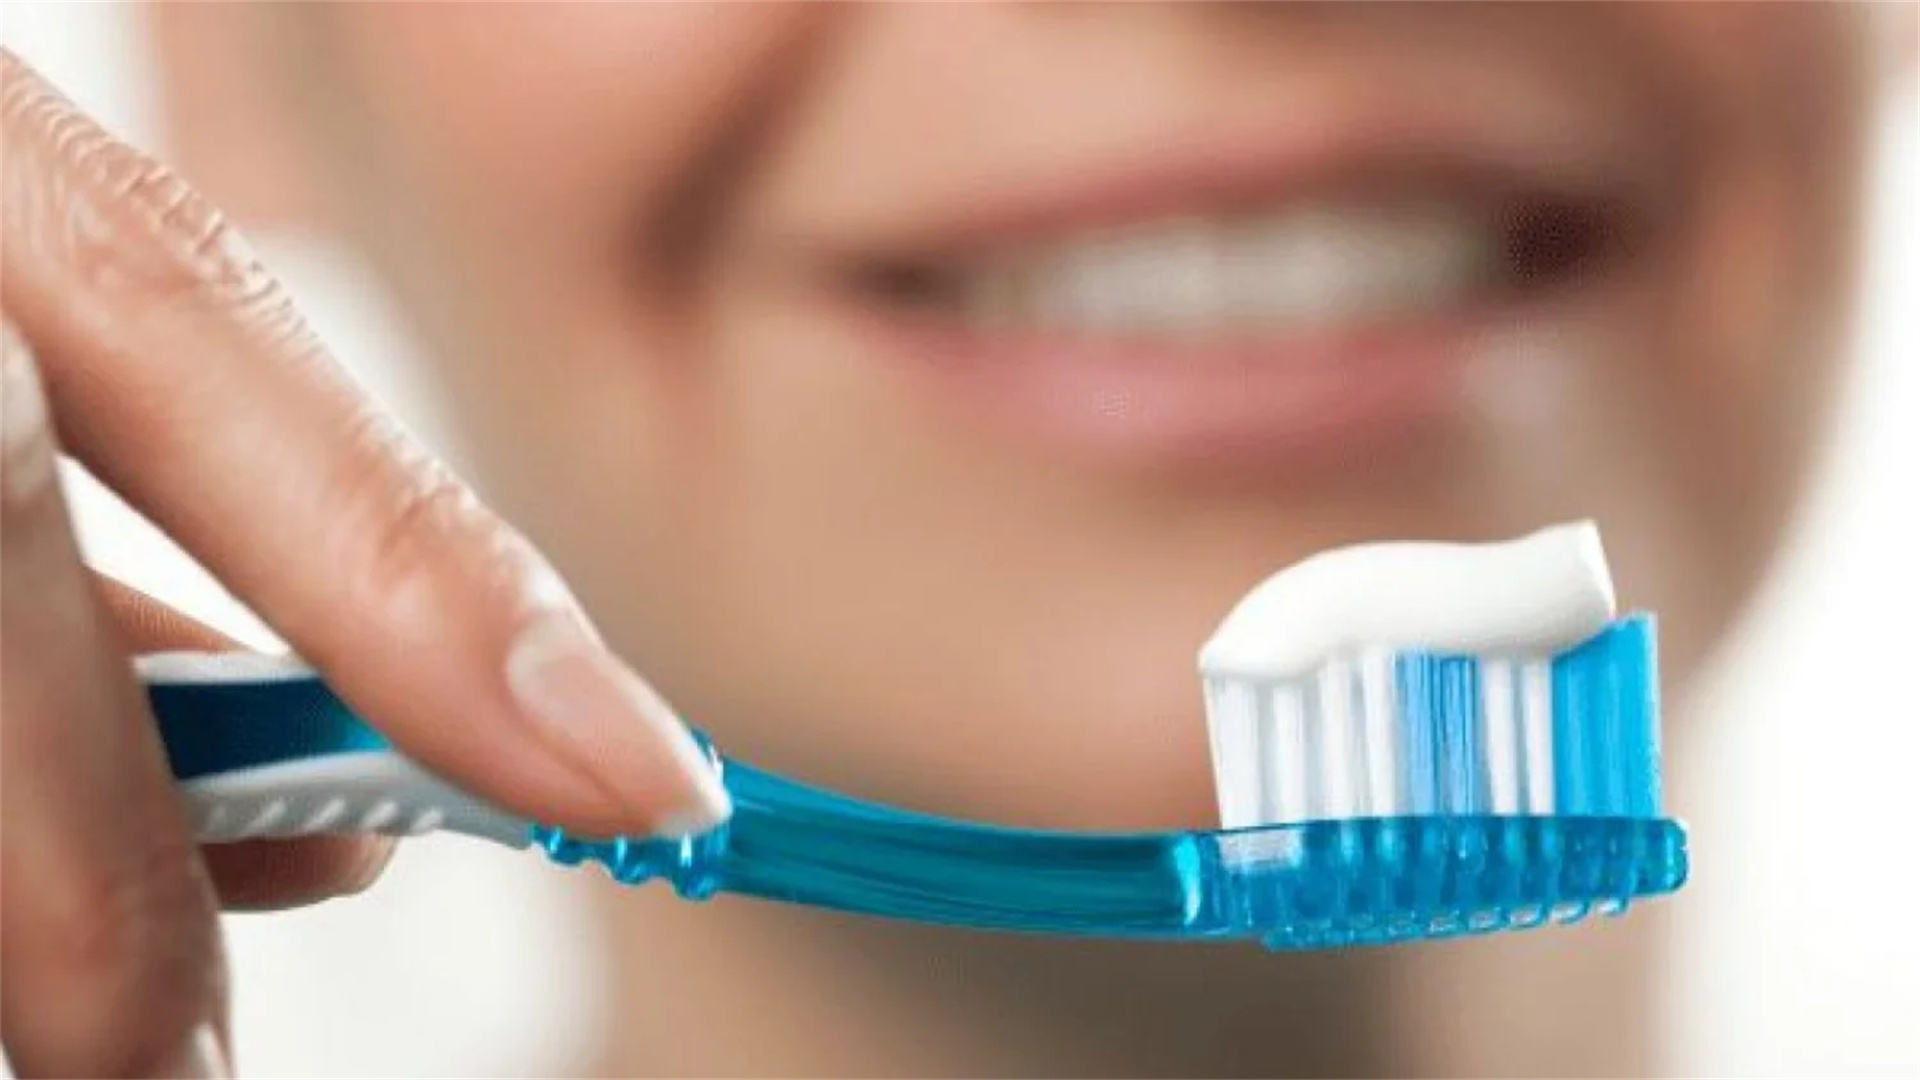
3.5 🦷 5. Fluoride Toothpaste - The Enamel Fortifier
What it is: A therapeutic paste containing fluoride, abrasives, humectants, and detergents.
Why it's essential: Fluoride is the single most proven ingredient to prevent and even reverse early stages of tooth decay (demineralization). It integrates into the tooth structure, making it more resistant to acid attacks from plaque bacteria.
How to use it correctly: Use only a pea-sized amount. After brushing, spit out the excess foam but do not rinse vigorously with water. This leaves a small amount of fluoride on the teeth for continued protection. For high-risk patients, dentists may recommend prescription-strength fluoride toothpaste.
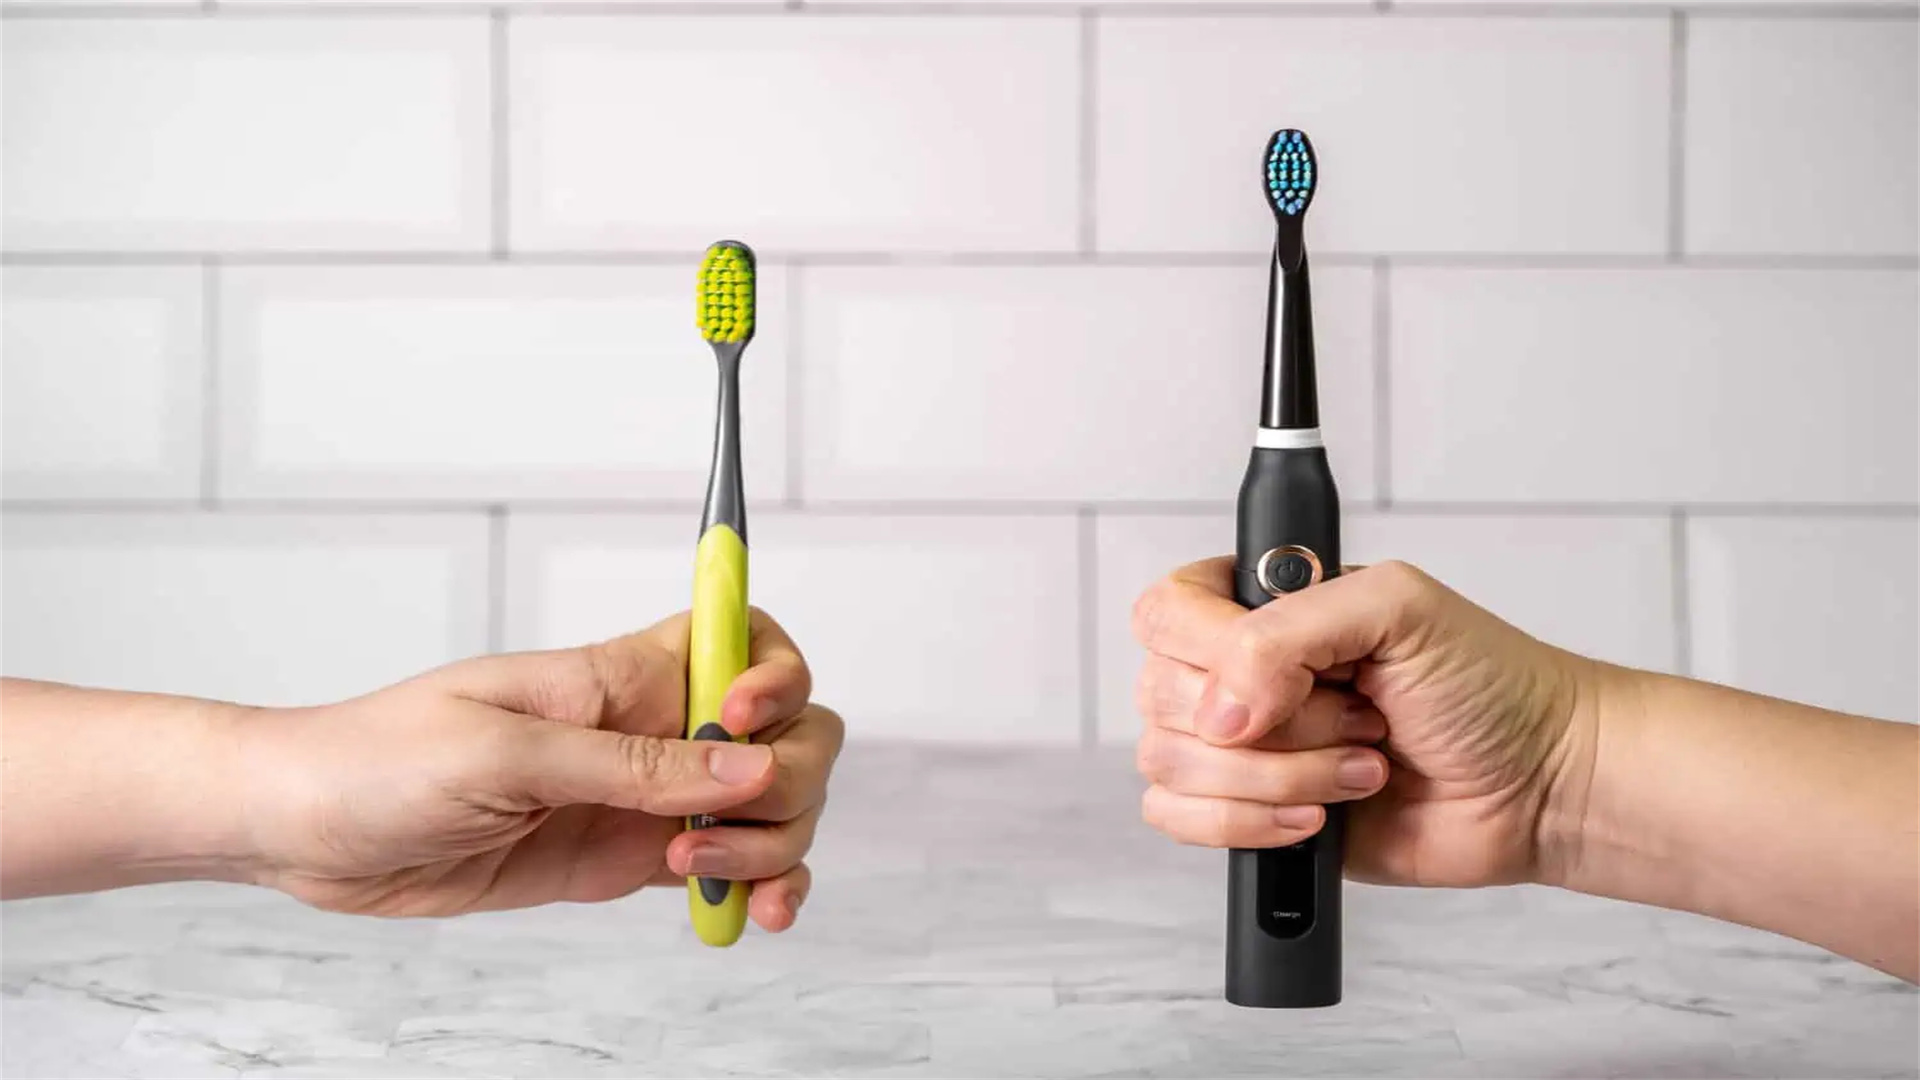
3.6 💦6. Electric Toothbrush (Oscillating-Rotating or Sonic) - The Power Boost
What it is: A powered toothbrush that provides either rapid oscillating-rotating movements or high-frequency sonic vibrations.
Why it's essential: Numerous studies show that powered brushes, particularly those with oscillating-rotating heads, are marginally more effective at reducing plaque and gingivitis than manual brushing for most people. They are excellent for individuals with dexterity issues, orthodontic appliances, or those who simply want a thorough clean with built-in timers and pressure sensors.
How to use it correctly: Let the brush do the work. Guide the moving head slowly from tooth to tooth, pausing for a few seconds on each surface and following the Bass technique angles. Do not scrub. Rely on the built-in timer to ensure a full two-minute brush.
4. 🔄 Integrating Technique and Tools into a Daily Routine
Knowledge is only powerful when applied consistently. Here’s how to weave the Bass technique and these six tools into an efficient, effective daily protocol.
4.1 The Ideal Morning Routine
Focus on freshening up and removing overnight plaque buildup. Brush for two minutes using the Bass technique with fluoride toothpaste. Scrape your tongue. If desired, use an antimicrobial mouthwash (non-alcoholic is preferable) for extra freshness, but use it at a different time than brushing to avoid washing away fluoride.
4.2 The Critical Nighttime Routine
This is the most important cleaning session of the day, as a clean mouth overnight allows saliva (which has protective properties) to work effectively without competing with plaque. The sequence matters: First, use your interdental brush or floss to clean between all teeth. This dislodges plaque and debris. Next, brush thoroughly for two minutes with the Bass technique. This removes the plaque disturbed by flossing and cleans all other surfaces. Finally, use your tongue scraper. Going to bed with a meticulously clean mouth is the best prevention strategy.
4.3 Maintenance and Replacement Schedule
• Toothbrush (manual or electric head): Replace every 3-4 months, or sooner if bristles are frayed.
• Interdental Brushes: Rinse after use; replace when bristles are worn or the wire is bent.
• Water Flosser Tip: Replace every 3-6 months as recommended by the manufacturer.
• Tongue Scraper: Clean with soap and water; replace if damaged or discolored.
5.✅Conclusion: Building a Lifetime of Healthy Smiles
Oral health is not a destination but a continuous journey of mindful daily practices. The Bass brushing technique, with its focused 45-degree angle and gentle sulcular cleaning, provides the methodological foundation for removing plaque where it matters most. When this technique is synergistically combined with the six essential tools—interdental brushes, dental floss, a water flosser, a tongue scraper, fluoride toothpaste, and a powered toothbrush—you create a comprehensive defense system against decay and gum disease. This integrated approach transforms passive brushing into active, preventive care. Remember, these home practices work in partnership with regular professional cleanings and check-ups. By adopting and consistently applying this detailed blueprint, you empower yourself to take full control of your oral health, ensuring a stronger, cleaner, and more confident smile for years to come.
You May Have Missed

Should You Apply Heat or Cold Compress First After a Sprain?
Suffering a sprain—whether from a misstep on a hike, a twist on the basketball court, or an awkward landing—is a common and painful experience. In those first critical moments of injury, the decisions you make can significantly impact your recovery speed and comfort. One of the most universal pieces of advice is to use temperature therapy, but it often leads to confusion: Should you reach for the ice pack or the heating pad first? Using the wrong one at the wrong time can inadvertently increase swelling, pain, and prolong healing. This article cuts through the confusion by exploring the distinct physiological effects of heat and cold, providing a clear, step-by-step protocol based on established medical guidelines, and debunking common myths. Understanding the "why" behind the "what to do" empowers you to manage your injury effectively from the first sign of a sprain through to full recovery.

Psychiatrist Shares the "5-4-3-2-1" Grounding Technique for Relieving Anxiety
In our fast-paced, modern world, anxiety has become a near-ubiquitous experience. While a certain level of anxiety is a normal and even helpful human response, chronic or overwhelming anxiety can feel paralyzing, trapping individuals in a cycle of worry about the future or distress over past events. When anxiety strikes, the mind and body can feel disconnected from the present moment, lost in a storm of "what-ifs" and catastrophic thinking.

Insomnia Isn't Just About Melatonin! 5 Steps to Reset Your Sleep Clock
For many struggling with sleepless nights, the solution seems to be found in a bottle. Melatonin supplements have become the go-to remedy, a quick fix for a body that won't quiet down. While melatonin plays a crucial role in signaling sleepiness, chronic insomnia is rarely just a simple hormone deficiency. It's often a symptom of a misaligned circadian rhythm—your internal sleep clock that dictates your sleep-wake cycle, hormone release, and body temperature. Resetting this master clock requires a holistic approach that goes far beyond supplementation. It's about retraining your brain and body to recognize when it's truly time for rest. This guide delves into five foundational, science-backed steps to synchronize your circadian rhythm and reclaim restorative sleep.
We focus on sharing high-quality original content covering diverse fields such as technology & digital, life essays, and practical useful tips. We polish every article with care to bring you a warm and in-depth reading experience. Explore more interesting new knowledge only at FunLab666.